The Take Action Garden began as a graduation project with many enthusiastic, helping hands. The group worked hard to make a large rectangle of school property into a flourishing garden full of fruits and vegetables which the group used to sell at a local farmer’s market, thus giving the group it’s name, PV Produce.
Unfortunately, after everyone in the group graduated, overtime new members struggled to keep the large garden going in such a prosperous state.
When our “generation” of the garden group began working on the garden about 4 years ago, the team consisted of three members (which later grew into four members: Casilda Fleurant, Mary and Cali Ragland, and Emma Roberto).
With limited experience from gardening at home, we were unsure where to start.
The Garden 2014-2015
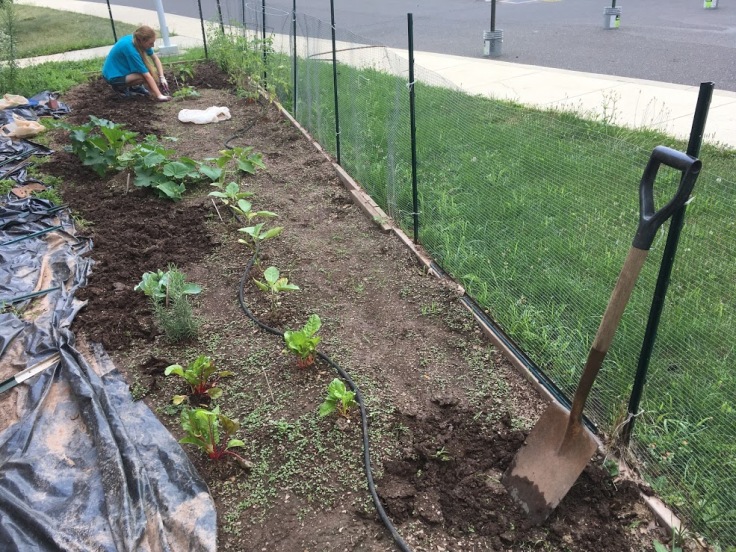
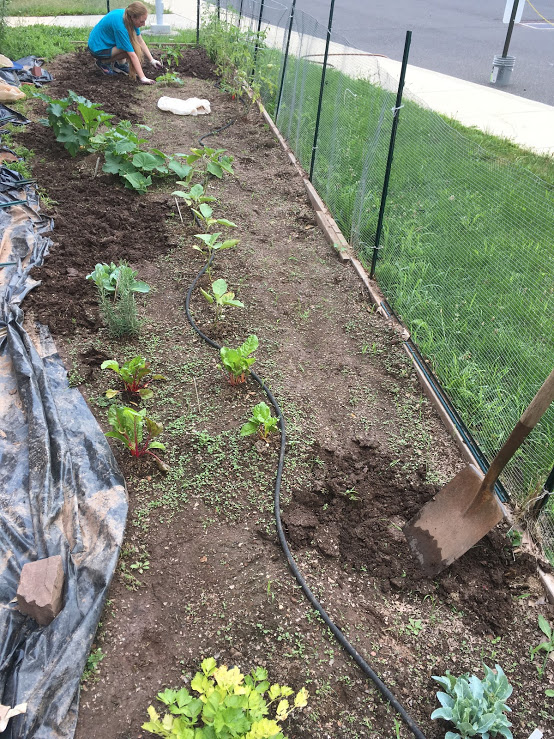
We began by doing what we were told the original PV Produce team did and prepared the soil for the coming spring. That fall, we pulled out dead plants and mixed compost and dead leaves into the soil from the school compost bins and covered the soil with trash bags. Throughout the winter, we made a list of what plants we wanted to plant in the garden that spring. We chose only to use half of the garden as the garden was enormous and we weren’t sure how to handle taking care of such a large space.
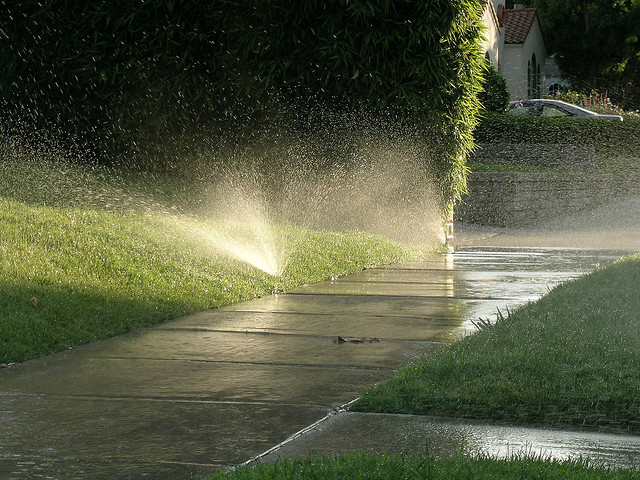
Once spring came, we determined where we thought we were going to plant our plants and then placed a soaker hose in the ground around the area. We hooked this soaker hose up to a timer in order to insure that the garden would receive consistent watering every day even when we wouldn’t be able to visit the garden.
That Spring, we also received a donation of 21 tomato plants from Mr. Tornambe. We planted the seedlings along the side of the fence away from the wall. We learned that there are different types of tomato plants ((Determinate Varieties: grow to be about 2 or 3 feet high, bear fruit, and then growth focuses on ripening that fruit) and Indeterminate Varieties: which will continue to grow to an unspecified height and bear fruit until frost) and how to prune a tomato plant.
In addition to tomato plants, we also planted a small variety of other plants from seed as well. However, only a small portion of these plants survived because once summer started, we ended up not being able to visit the garden for about 2 to 3 weeks. Just because a garden is getting consistent watering everyday does not mean it shouldn’t be tended to for this long. Ideally, a garden should be checked on every day. However, this might not be possible and it can be visited every 2 or 3 days to make sure it is well pruned, that the hose hasn’t been unplugged, that everything seems to be doing well, etc.
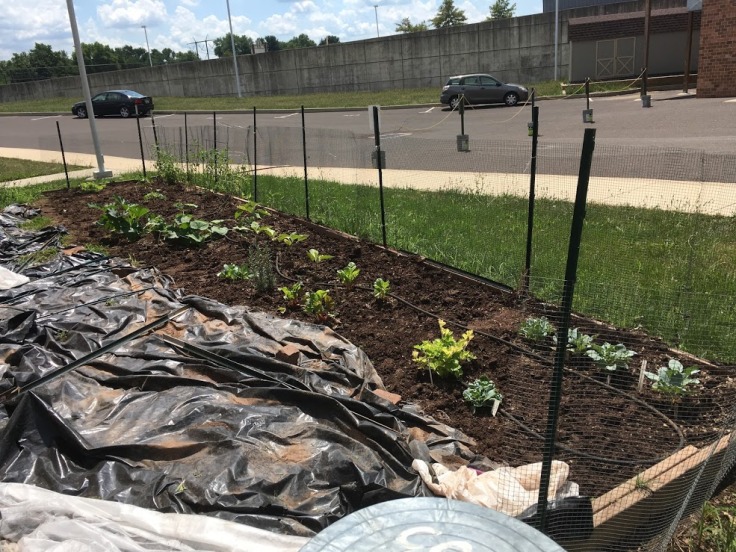
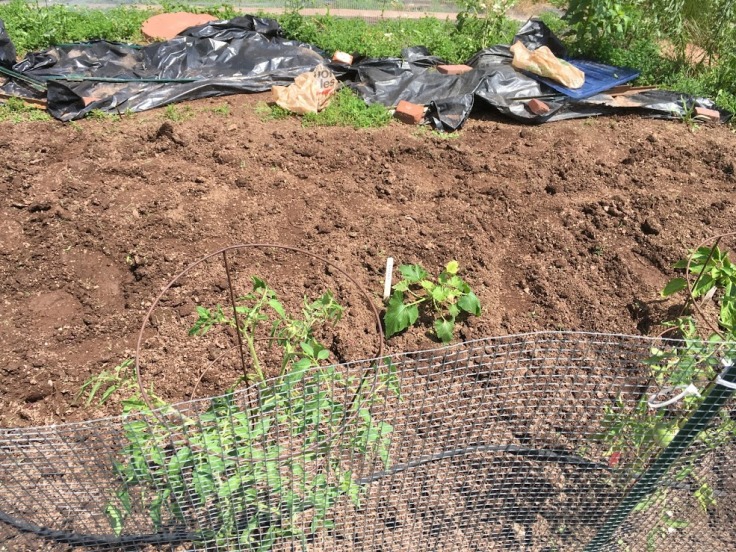
Due to our lack of tending, when we finally visited the garden it was a jungle. The unpruned indeterminate tomato plants had taken off; they were higher than the fence and pretty much had taken up the entire garden, towering over and crowding out the determinate tomato plants and all of the other plants. And, the tomato plants weren’t the only thing that grew. Long grass and weeds on the fallow side of the garden grew knee high. We now knew why PV Produce used to cover the garden in tarps over the winter: to avoid weeds growing in the prepared soil in the spring.
Shocked with the overgrowth, we (and a helpful group of other members of Take Action, including parents, who saved the day) cut down all of the long grass and weeds and thoroughly pruned the tomato plants (and discovered some growing zucchini in the process).
The Garden 2015-2016
Now having had one season of garden preparation and growing under our belts, we knew that we would be able to learn from our initial mistakes and use our experiences to make the next season’s garden better.
Before garden preparations could begin, we needed to take care of the family of mice that were living under the garden box (as we were told they had been coming into the school). The Garden group and much of Take Action caught the mice and released them away from the garden.
We began the same way we began the previous season. We mixed compost, dead leaves, and now Alpaca waste (from Emma’s neighbors with pet Alpacas) into the soil and covered it with tarps and trash bags. We did this several times.
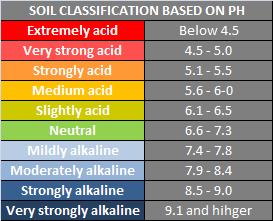
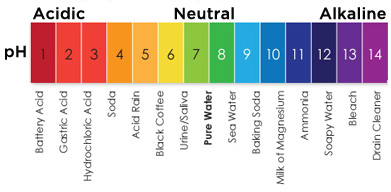
Then, throughout the winter we researched what plants we wanted to grow in the garden (including when certain plants should be planted, the amount of sunlight and water each plant should receive, the type of soil our garden has (although we never got a soil test done!), the levels of acid required in the soil by each plant, the best spot of the garden to plant them in, what plants should be planted near each other, etc.).
In the past, we had heard that PV Produce used to grow seedlings inside by the window in Mr. Craven’s room and different members of PV Produce would come up and check on the seedlings each morning. This is likely the best option when starting seedlings for the garden considering that all members get to monitor the growth of the seedlings and ensures that the seedlings receive constant care.
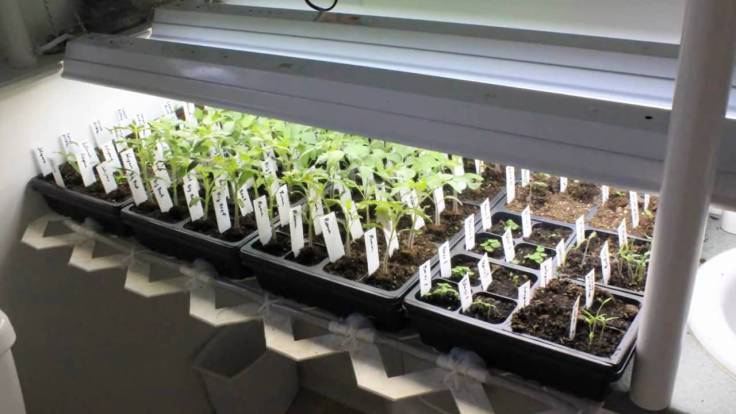
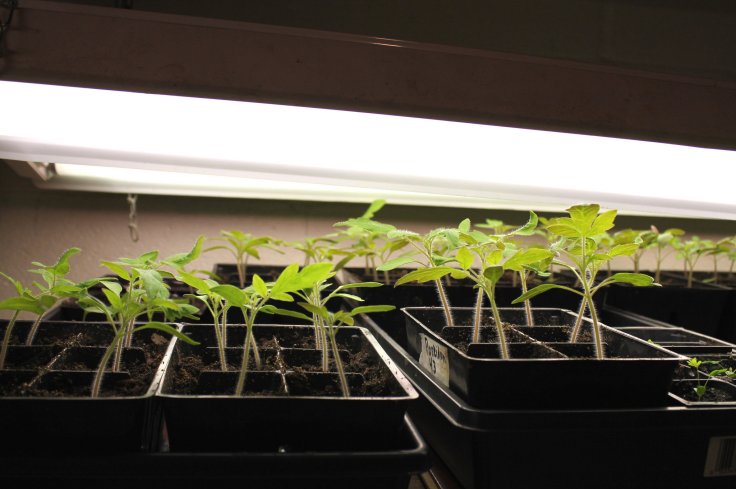
Mr. Tornambe had told us that he starts his tomato seedlings at home under a lamp to ensure that the seedlings receive constant and consistent sunlight. If one is growing seedlings for a home garden and is growing a lot of one type of plant, this is probably the best option because then you can monitor your own seedlings yourself and you know they are getting consistent sunlight.
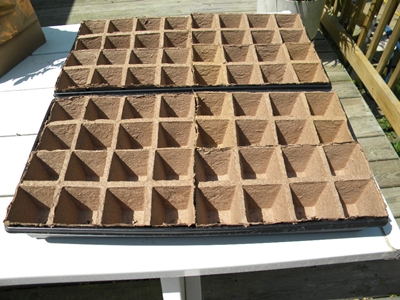
Around April, we began trying to start our own seedlings. However, some members of the group took seedlings home to start them under a lamp and planned to bring them in when they were old enough to be planted in the garden (which should only take about a week or two and should be planted after the last frost has occurred). However, managing tons of little seedlings with a busy high school schedule is difficult and too much responsibility for one or two members of the group. Due to the difficulty of managing the seedlings (which need daily care), many of the seedlings died or once they were planted in the ground they died soon after.
After the seedlings died and school ended, young plants were purchased from a local nursery (Miller’s Greenhouse) and were planted in the garden by mid to late June. This is very late for seedlings, but a little more acceptable for young plants.
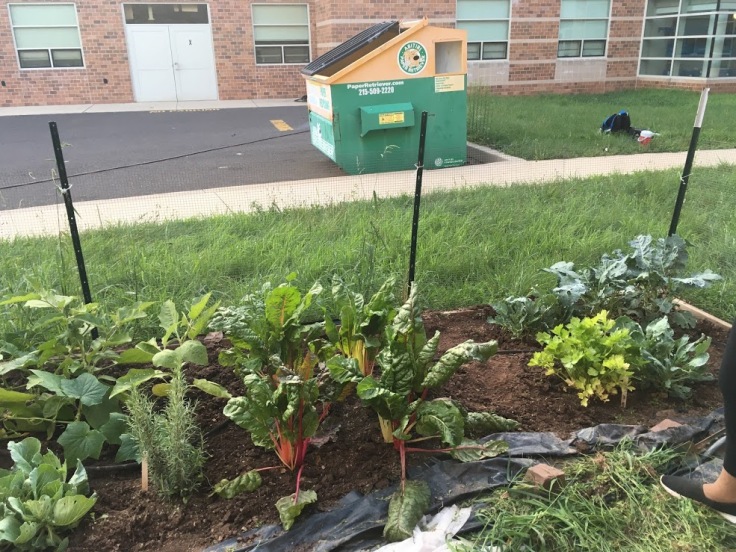
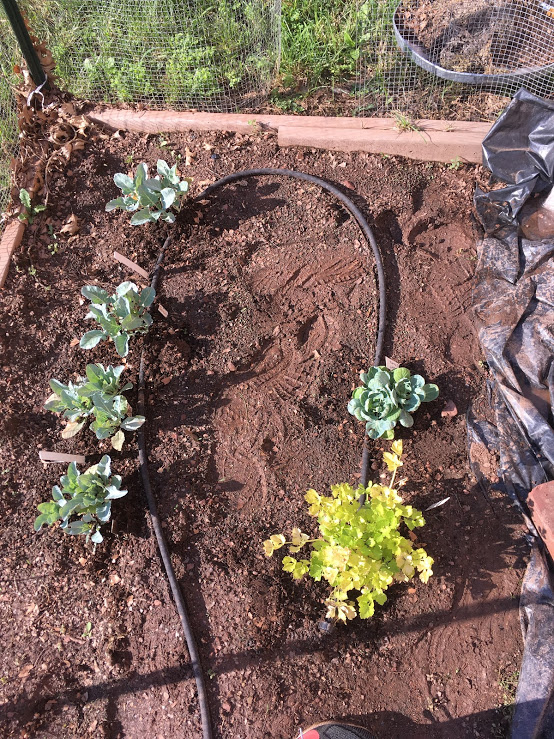
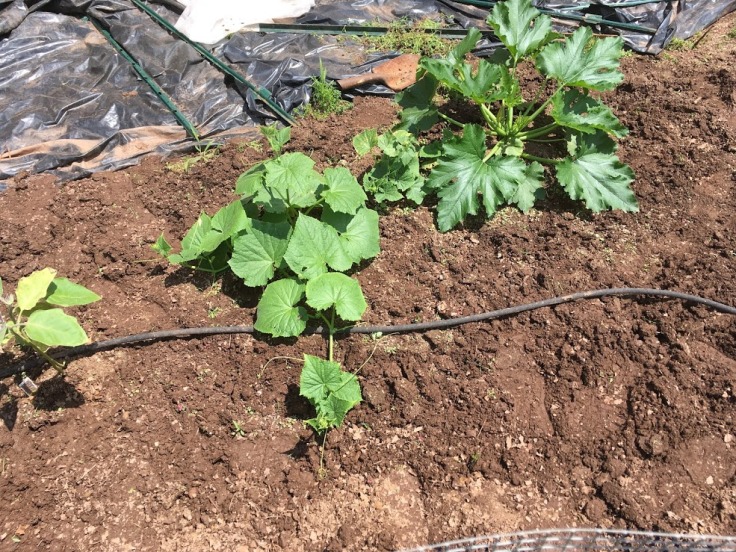
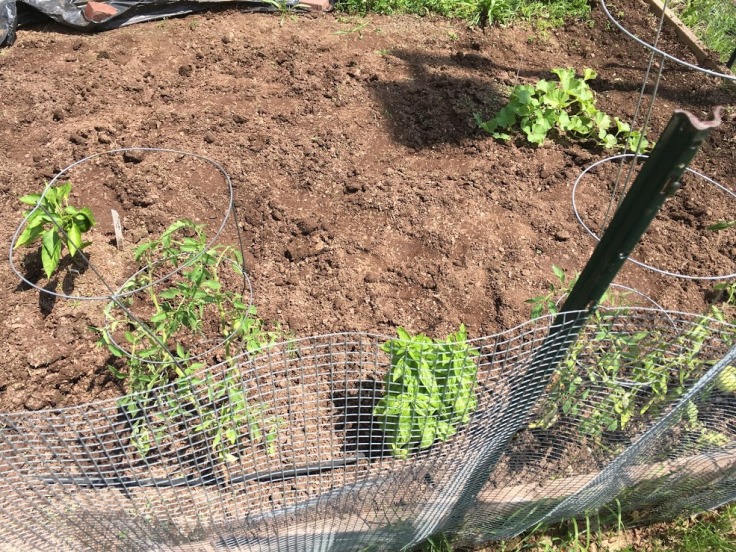
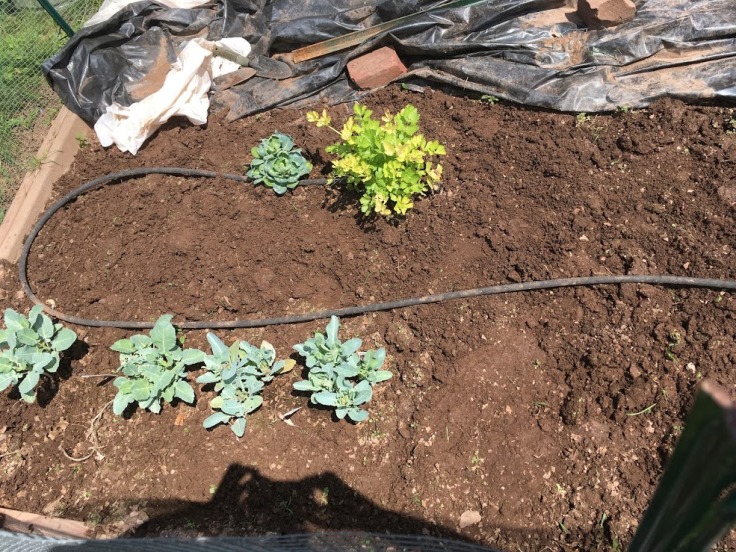
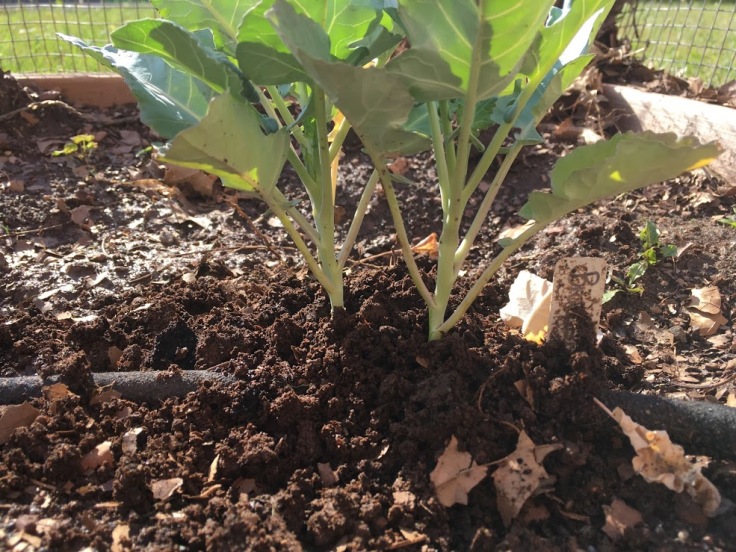
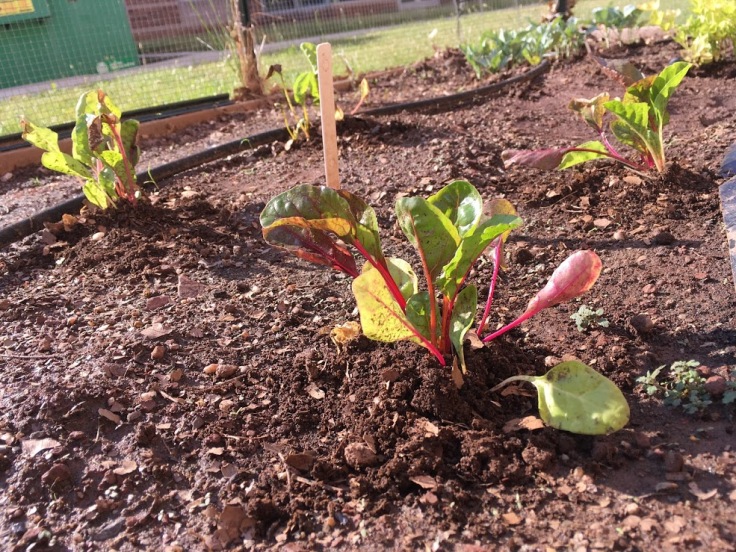
With constant attention throughout the summer, the plants did flourish and produced fruit. Tomatoes, celery, cabbage, broccoli, cauliflower, Swiss Chard, Zucchini, Cucumbers, Cabbage, Green Peppers, Brussel Sprouts, Purple and White Eggplant, a cantaloupe, Rosemary, and Basil grew.
We’re not quite sure why but Zucchini and Swiss Chard seem to grow really well (perhaps because they both like full sun?). The Broccoli, Cauliflower, and Cantaloupe never bared fruit (the Broccoli and Cauliflower were eaten by insects and the cantaloupe did not seem to grow very well).
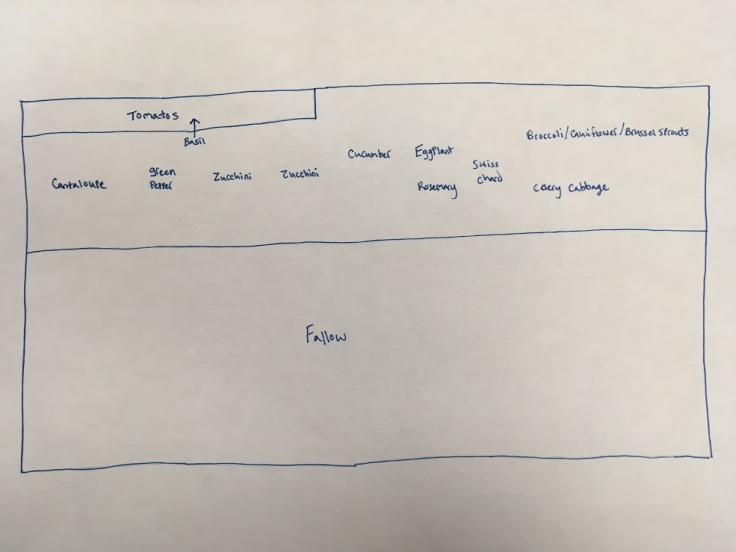
(A map of the 2015-2016 Garden)
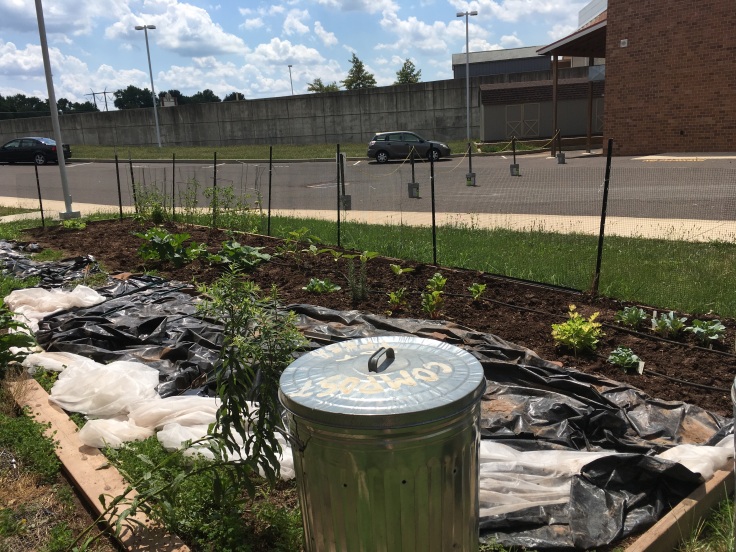
We did not cover the entire garden with trash bags and tarps. When the warm weather came, this resulted in many weeds growing in the fertilized dirt. To prevent having to do a back breaking amount of weeding, make sure to cover all areas of the garden that are not being planted in to ensure that the soil does not receive sunlight to grow weeds.
Garden 2016-2017
Once the fall came, many of the greens (cabbage, swiss chard, celery) continued to grow as many greens like cooler weather. Because these plants were still producing, we let the garden continue into late October or early November. Then we pulled everything out and put it in the composter.
Mr. Tornambe advised us that we didn’t really need to put a whole lot of fertilizer in the garden in the fall as this would really only help fertilize weeds in the Spring. So, we added minimal fertilizer (compost, etc.) and waited to add more fertilizer in the Spring for the plants that would be planted.
Unfortunately, due to the busy schedules of the graduating members of the group, the garden was left fallow this season.


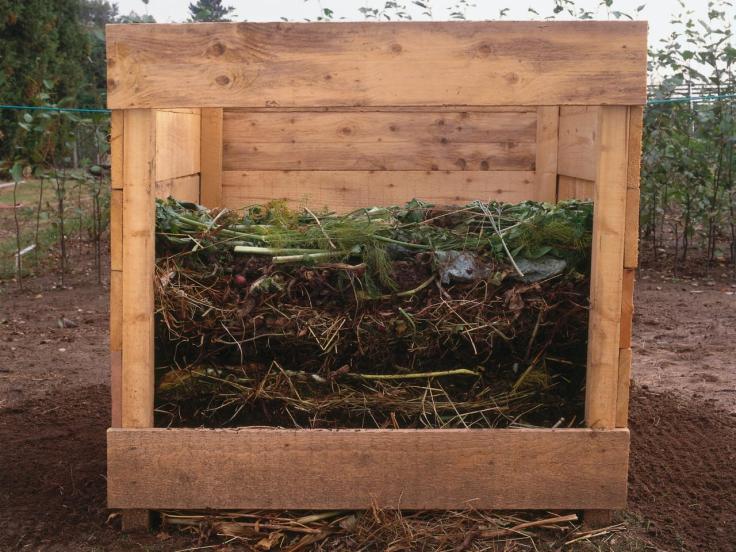
 (Compost that is ready to use)
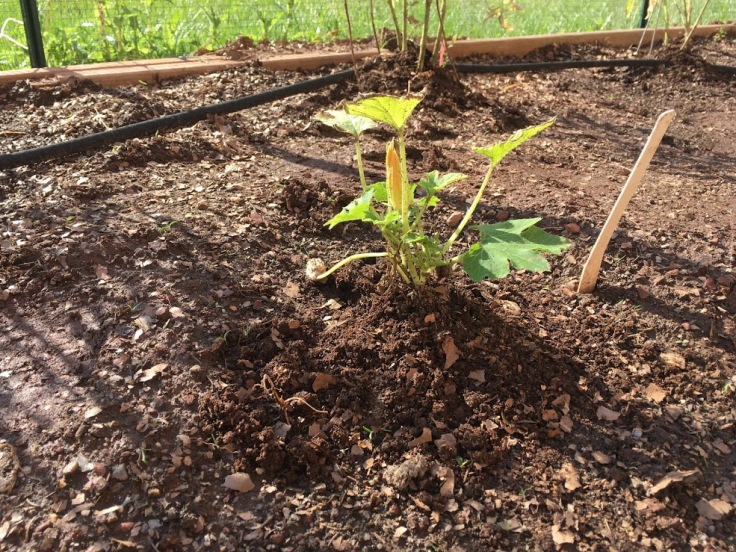


")


