Pt. 3: Benefits of No-Till Gardening

This article is not my work. I am reposting this information, which was originally written by Greg Seaman on his blog “Easy Earth.” The original article: http://learn.eartheasy.com/2009/01/no-till-gardening/

Benefits of no-till gardening

Promotes natural aeration and drainage.

Worms and other soil life are important to healthy soil structure, their tunnels providing aeration and drainage, and their excretions bind together soil crumbs. No-till systems are said to be freer of pests and disease, possibly due to a more balanced soil population being allowed to build up in this comparatively undisturbed environment, and by encouraging the buildup of beneficial soil fungi.

Saves water.

Thick layers of mulch allow water to pass through easily while shading the soil. This reduces water lost to evaporation while maintaining a moist growing environment beneficial for root growth.

Reduces or eliminates the need to weed.

Most garden soils contain weed seeds which lay dormant until the soil is disturbed and the seeds become exposed to light. With no-till gardening, these seeds will remain dormant indefinitely. Of course, some weeds will appear in the beds, borne by wind or birds. These weeds are easy to remove by hand if you pull them early in the morning or shortly after watering, while the soil is damp.

Saves time and energy.

Whether you turn your garden beds by hand or use a gas-powered rototiller, you’ll save energy by using the no-till method. Although some effort is required in gathering materials for mulching, and applying the mulch during the growing season, no digging or turning of the soil is required.

No-till gardening helps soil retain carbon.

Healthy topsoil contains carbon-enriched humus and decaying organic matter that provides nutrients to plants. Soils low in humus can’t maintain the carbon-dependent nutrients essential to healthy crop production, resulting in the need to use more fertilizers. Tilling the soil speeds the breakdown or organic matter, which releases nutrients too quickly. A steady, slow release of nutrients is more beneficial to plant growth.

Builds earthworm population.

The moist conditions of the soil beneath mulch creates the ideal environment for earthworms, whose activity aerates the soil and stimulates root growth.

Helps reduce soil erosion.

A lack of carbon in soil may promote erosion, as topsoil and fertilizers are often washed or blown away from garden beds.

Pt. 2: Creating a No-Till Garden

Step 1: Prepare the soil

Before one commits to trying a no-till gardening method, the soil has to be prepared first to establish a sound, fertile soil structure.

Gardner Greg Seaman writes:

The soil should be ‘double-dug’ at least the depth of two shovel blades, and large rocks, roots and other obstructions removed. Be sure to remove any perennial weed roots. Amendments such as peat, lime, vermiculite, compost or other organic material can then be worked into the soil.”

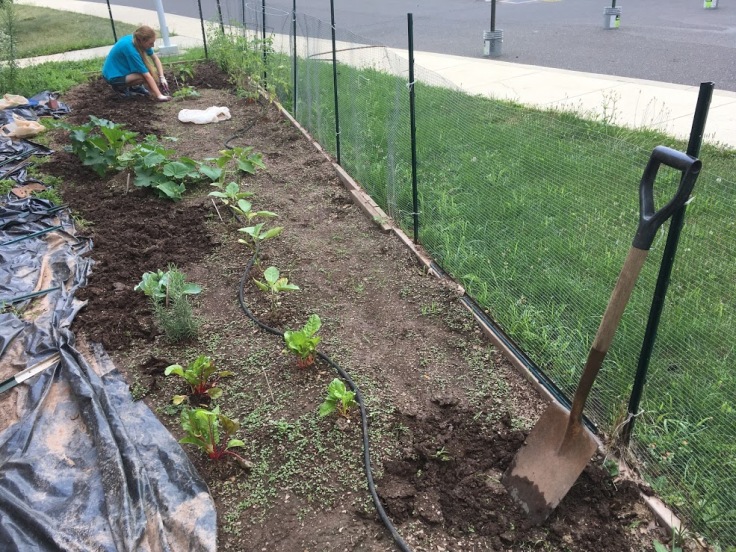
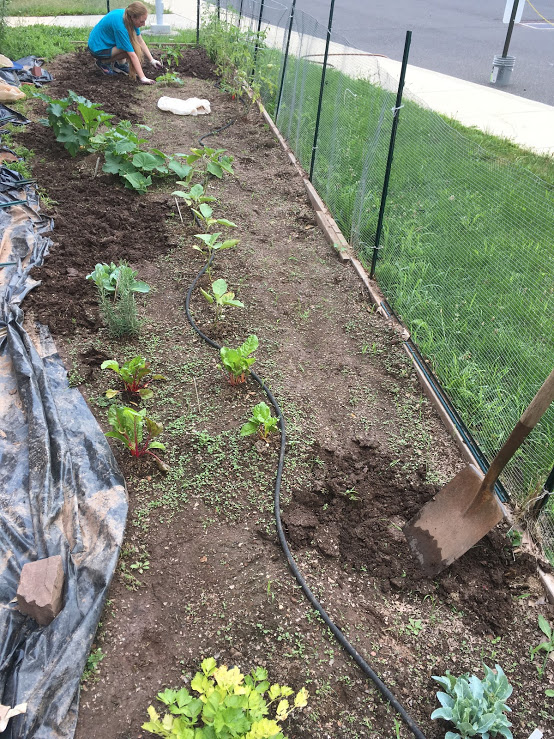
This was mainly what last year was about. We spent much of our time preparing the soil with vermiculite, compost, and alpaca manure. The vegetables seemed to do much better, likely for a variety of reasons, but we think that the preparation of the soil was crucial.

This seems like this means that you don’t have to start with this step. Yay!


Step 2: Once the soil is prepared, add the mulch.

Experiment and research and attempt and see how a no-till garden works out. This is how you find out what works and what doesn’t for this particular garden (and in some cases gardening in general).

Once a good soil is established, the next step in creating a no-till garden is covering the top soil in a “mulch.”

It seems like a proper mulch is what makes a no-till garden a no-till garden.

The mulch can just be spread across the top of the soil. This will keep the soil from drying out, crusting over, and compacting. Any weeds that grow in this mulch can be turned over. This small bit of tilling here and there seems to be fine for keeping away little weeds that grow according to some people; one just wants to avoid frequent deep tilling.

This mulch is not necessarily the straight wood chips that might come to mind, but is often made of several different materials, like a compost, but a little less focused on nutrition and a little more on structure maybe.

The following lists common materials used for mulches:

  • Grass Clippings – Cut grass before it goes to seed. Fresh ‘green’ clippings will add nitrogen to the soil, which helps plants grow. If you let the clippings turn brown, you will get the mulch effect without adding nitrogen. (As plants begin to fruit, nitrogen should not be added.)
  • Newspaper – Avoid using paper with colored inks; can blow away in the wind.
  • Yard waste – Cut up any branches or woody material.
  • Compost – Needs to be ‘finished’ compost so as not to attract pests. Compost is a good early season mulch, but as the plant begins fruiting, you should withhold sources of nitrogen.
  • Hay – Good mulching material but beware – weed seeds may be introduced.
  • Straw – Good source of carbon; excellent mulching material.
  • Seaweed – Adds trace minerals, deters slugs. Should be applied liberally because seaweed shrinks considerably when dry.
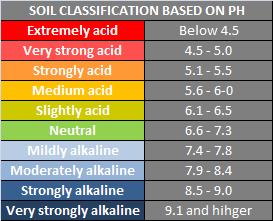
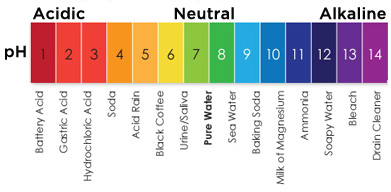
  • Fine bark – Can be acidic. You may need to add lime at the same time.
  • Wood Shavings – Avoid shavings from chain saws or tools that leave oil residues.
  • Leaves – A valuable source of carbon, leaves make excellent mulch. Apply in thin layers, or intersperse with other materials to prevent matting. Sprinkle soil on top if needed to prevent leaves from blowing away in a strong wind.
  • Forest duff – Pine needles, twigs, woody bits are useful, but can be acidic.


After reading about this, it seems like last year we made a mulch several inches deep when we were trying to add more nutrition to the soil. This mulch helped to prepare the soil but was never continually replaced as we didn’t think it needed to be kept at a certain level at the time. It consisted of shredded leaves, store bought garden soil, alpaca manure, old plants and grass clippings, wood dust, and vermiculite.  

* The mulch may not be visibly extremely distinct in color from the soil – this is completely fine. The mulch and soil do not have to be thought of as so distinct from each other that they are separate animals entirely. The mulch may just look like regular soil. Our mulch seemed to be softer, richer, and darker than the soil.*


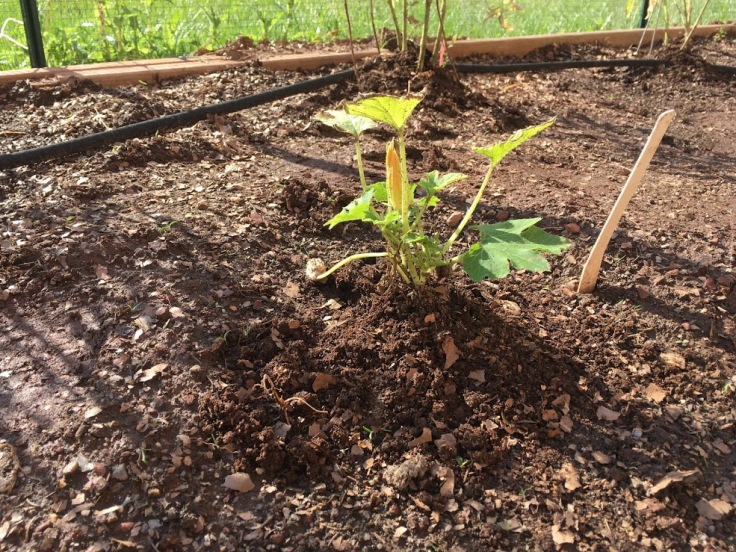
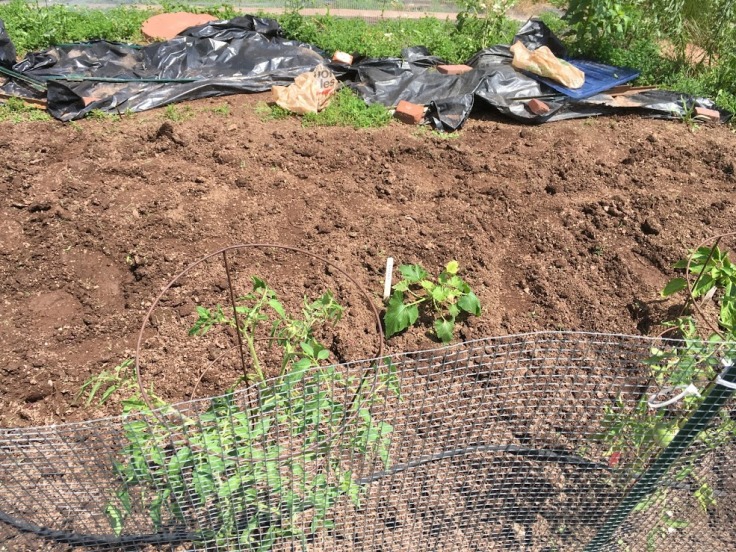
Step 3: Planting in the mulch
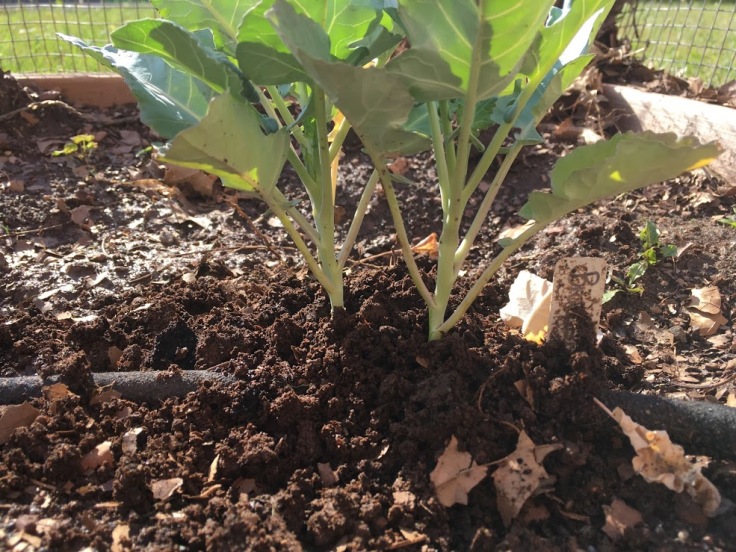
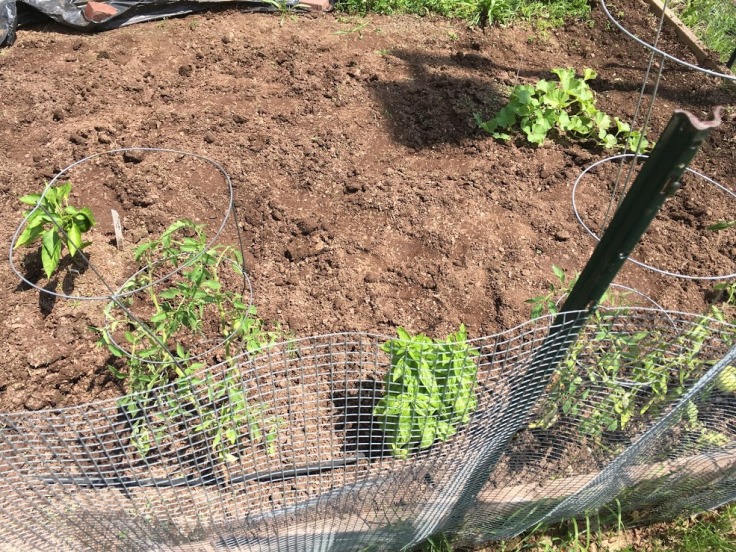
When planting seedlings, pull the mulch back and dig into the surface soil just enough to set the plant. The depth of mulch can be only a few inches when seedlings are first planted, then added in layers as the plant grows. Pull mulch away from the stems of tomatoes, peppers and long-stemmed plants. Beds left over winter can benefit from mulch 12″ – 24″ in depth.” (eartheasy.com)

Last year when we made compost/mulch when we were just trying to add a compost to the soil very little weeds popped up through this and it seems to hold in moisture, so it seems like this does work.

“Over time, as the mulch degenerates and settles into the soil, new mulch needs to be added. This should be done in a timely way, because if the soil surface is exposed to direct watering, and heavy rain, it compacts. You may need to break up (till) the soil before planting the next crop, and this defeats the purpose of the no-till method” (easy earth.com).

This is what we did not do last year (because we did not know about no-till gardening at the time). We began with our several inch layer of mulch. Over time though, we didn’t add to it and replaced what broke down. Over time, it degenerated, exposed the surface soil, and compacted. In order to combat this compaction, we would frequently vigorously till the soil to get the same fluffed look as the mulch, but without the added benefits; it looked kind of like sound mulch, but was just old (but still sound) base soil that was turned over. It just needed some extra material added to it to keep in moisture, keep away weeds, and foster an environment for worms and microorganisms to thrive.


Step 4: Cut Back on Watering

The mulch will retain moisture, so less watering is needed. Less watering also helps minimize soil compaction and the germination of unwanted weeds.

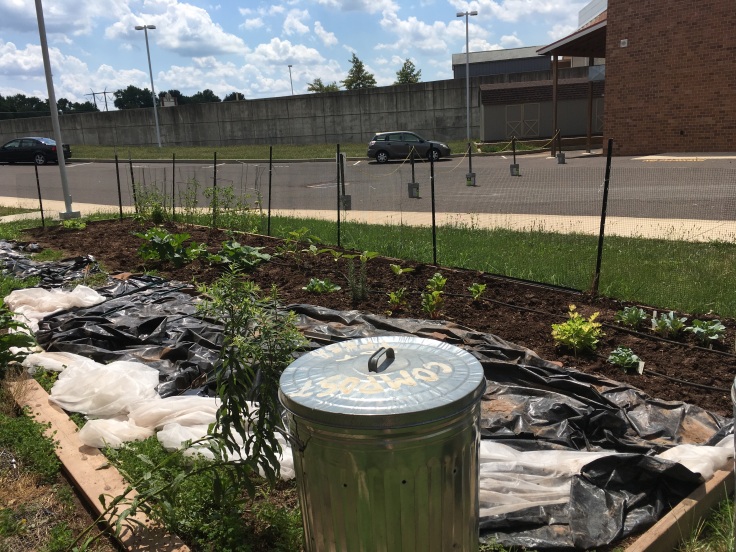
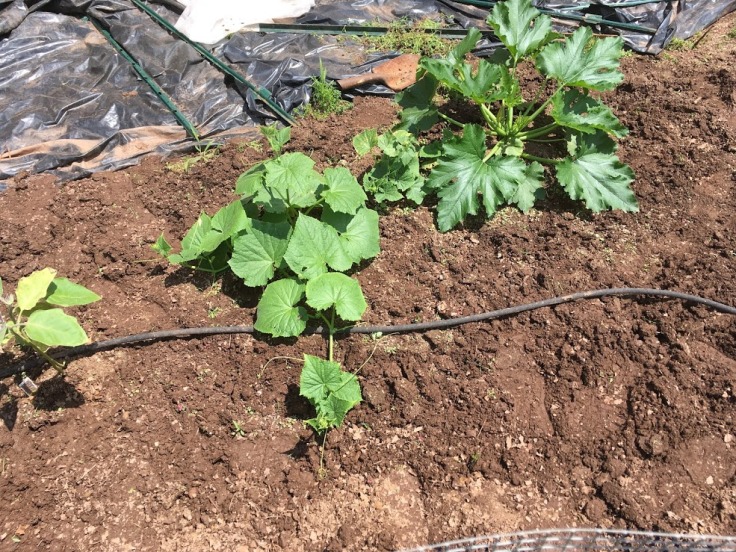
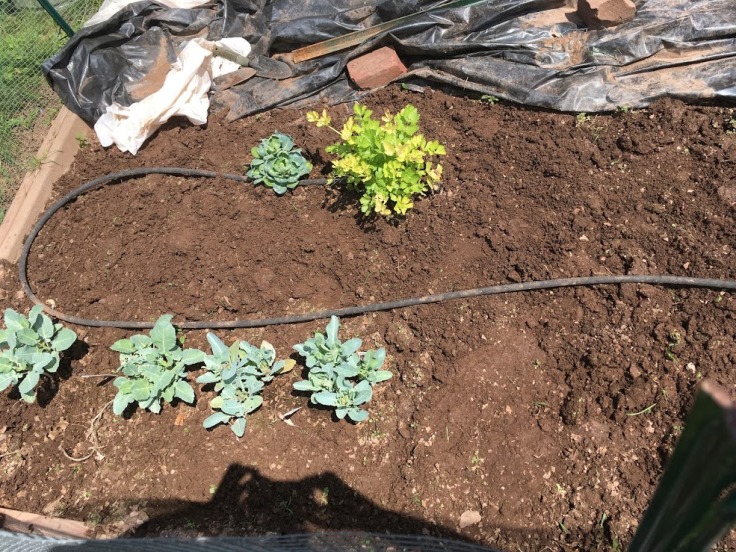
To water the garden we also recommend a “drip method” of watering, which is really anything that does not spray water like a hose or sprinkler, but drips or seeps it into the soil. This allows the water to get directly to the roots and prevents some water from being wasted by being sprayed on the sidewalk.
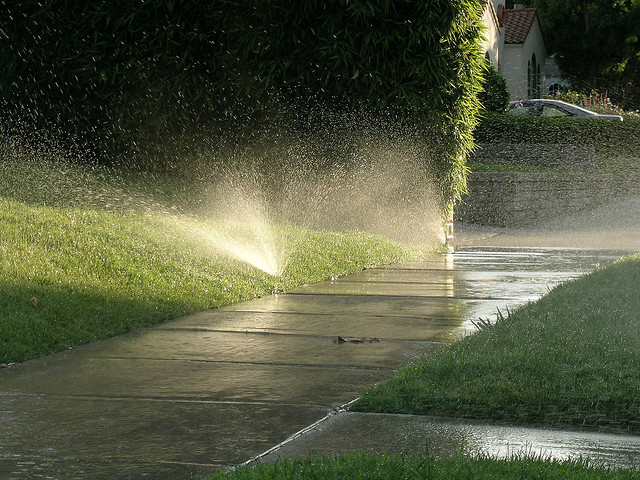
SprinklerSidewalk

VS

Sandy Section: Brussel Sprouts, Celery, Cauliflower, Broccoli, Cabbage

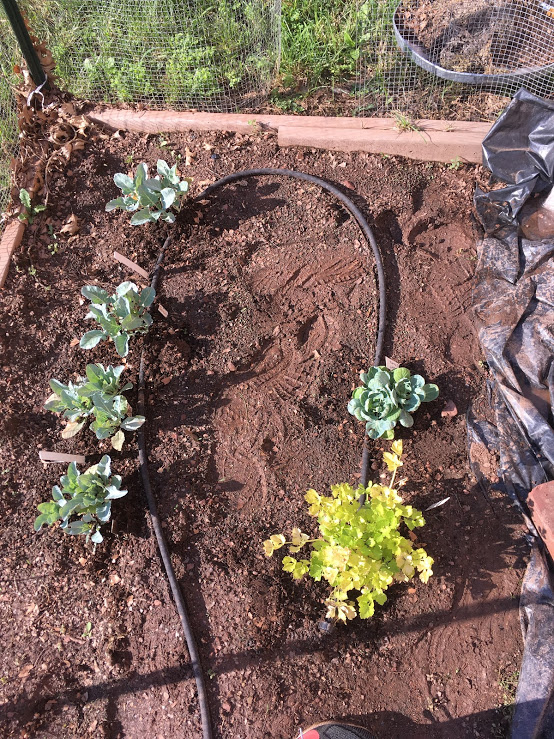
We have found that soaker hoses laid on top of the soil and buried 4 to 8 inches into the soil connected to a timer worked best for us. We were in a particularly sunny spot so we watered for one hour at the same time everyday. How you decide to water, how much you decide, and at what time of day will always depend on the plants you are planting, how much sun they receive, and what the soil is like.


Pt. 1: Considering a No-Till Garden

As we spent more time in the garden, we began to realize a secret that we had not fully realized upon initially embarking on our gardening journey…………

GARDENING IS HARD WORK!

Over time, we found that the task that seemed to be the most time consuming and laborious was keeping the garden free of weeds. All of us had always heard that weeds were green, leafy, grassy, occasionally spiny, sometimes slightly flowery plants whose purpose in life was to latch on to all other plants and snuff out their life.

Weeds seemed to be in their own separate category of killer plant; a plant against all plants.

dandelion

(It seems like weeds might be a little more complex than this, and in some cases could even be good? But this is for another blog post.)


We would spend hours pulling weeds out by hand and trowel, and then tilling, or turning over, the soil to break up the roots in preparation for planting, and later to keep away the weeds from the growing plants. Tilling accelerates decomposition of old crops, weeds, and any other “undesirable” organic matter.

plowing weeds 2
Before Tilling – notice how much darker the soil is where it has been tilled. The tilling reveals how much moisture is underneath. The dryness and compaction on top is not good for allowing nutrients to seep into the soil. It also decreases aeration and drainage.
Plowing weeds
The soil has been dried and compacted without the mulch being replaced

plowed Zuchini, cucplowed tomatos, cantaloupeplowed tomatos birdseye viewplowed sandy section

4 or 5 hours in 94 degree F. weather became second nature. Sunscreen became a second skin.

There had to be another way….


Eventually we made our own form of weed block by covering the parts of the garden we were leaving fallow for the time being with cut open trash bags.

plowed garden from trashcan 6

This cut down our weeding dramatically and allowed us to focus more time on the fruits and veggies and their weeds and less on aesthetics of the overall area surrounding the garden. It became too easy.  Suddenly every time we saw a weed starting to pop up, it was no problem; our be all end all solution was trash bags and tilling.

Not only was it easy; it looked nice, picturesque.

Colorful SC 2

plowed garden 3
The garden after tilling. Notice how dark, rich, and healthy the soil looks as compared to before. 

Fluffy brown soil surrounding growing green plants.Tilling fluffed up the soil, made it look groomed and well maintained.

If tilling looked this healthy, it must be that healthy. Right?


A Twist

In our geoscience class senior year we came across an article promoting the benefits of no till gardening.

The article claimed that not only will a no-till garden save a gardner plenty of time, but also foster a much healthier soil as well.

It turns out, soil is a little ecoysystem all it’s own, and routine tilling can disrupt and harm this ecosystem, resulting in opposite than desired effects, including more weeds!


Soil Horizons

As gardener Greg Seaman writes:

“A complex, symbiotic relationship exists between the soil surface and the underlying micro-organisms, which contributes to a natural, healthy soil structure. Digging into the bed can interfere with this process and disturb the natural growing environment. It can also cause soil compaction and erosion, and bring dormant weed seeds to the surface where they will sprout.”


For this reason, when we winterized the garden this fall, we decided that that would be the last time we till the garden. We thought this year we might try a no till garden. Unfortunately, we were all away much of this summer and did not get the chance to try it.

Perhaps you current Take Action gardeners will want to try it now!


Compost

Composting is an essential part of gardening and creating healthy, fertile soil in which plants can thrive.

Compost has four main elements: Carbon, Nitrogen, Oxygen, and Water.


Carbon

Carbon will come from dry, brown materials such as dead leaves, bark, or dried grass clippings. Carbon materials will help produce heat due to microbial oxidation which will help “cook” the compost .

Nitrogen

Nitrogen materials are usually green/colorful and wet. These include vegetable and fruit scraps and animal manure. Nitrogen materials feed the microorganisms which are oxidizing the carbon materials.

Oxygen

Compost needs to be aerated so that the carbon materials can be oxidized and so the decomposition process can take place.

Water

Water is needed so that the microbial activity taking place can continue so the microbes don’t die and the compost doesn’t dry up and become stagnant.
The ratio of carbon to nitrogen should be about 25 parts carbon to 1 part nitrogen. This balance should be maintained: high C:N ratios can be lowered by adding nitrogenous materials like food scraps, low C:N ratios can be raised by adding carbon materials like dry leaves or wood chips.

Compost Ingredients

Carbon (Brown, Dry Ingredients)

  • Leaves (try to shred them, avoid waxy leaves)
  • Bark, Wood (shredded)
  • Dried grass, weeds
  • Newspaper, cardboard (shredded)
  • Sawdust
  • Dryer Lint (moisten first)


Nitrogen (Greens)

  • Fresh grass, weed clippings
  • Coffee grounds, unbleached filters
  • Dead plants, pieces of plants picked from pruning
  • Manure
  • Diseased plants (compost needs to reach 130 degrees F or more, if it doesn’t, play it safe and throw diseased plants away to avoid spreading plant diseases)
  • Algae
  • Aquarium Water (fresh water)
  • Vegetable scraps


Other Things That Can Be Added

  • Ashes (very small amounts)
  • Dish water (without soap)
  • Eggshells (crushed)
  • Dairy products (mix well to avoid attracting animals)

Never, Ever Compost

  • Plastic
  • Styrofoam
  • Treated wood
  • Anything with heavy metals
  • Coal ashes
  • Bird droppings
  • Meat, grease (sometimes used commercially)
  • Animal feces (shouldn’t be used for soil that will be producing food)


Sometimes Can Compost/Sometimes Not a Good Idea

  • Pine needles (pine needles break down super slowly and can be acidic if they are still green)
  • Bones (takes a super long time to break down)

When building a compost pile, start with about 12 inches of carbon material, then add about 6 inches of nitrogen material, then add 2 inches of soil, then shower the pile with a little water. Every month or two, turn the pile and mix it up. Make sure that ingredients are shredded and chopped up so they will decompose more quickly.

Composter Example

(Composter Example)

Compost is ready to use when it is soft, crumbly, moist (not wet). It should also not have a foul odor if everything is decomposed and thoroughly mixed.

Compost And Loam For The Garden
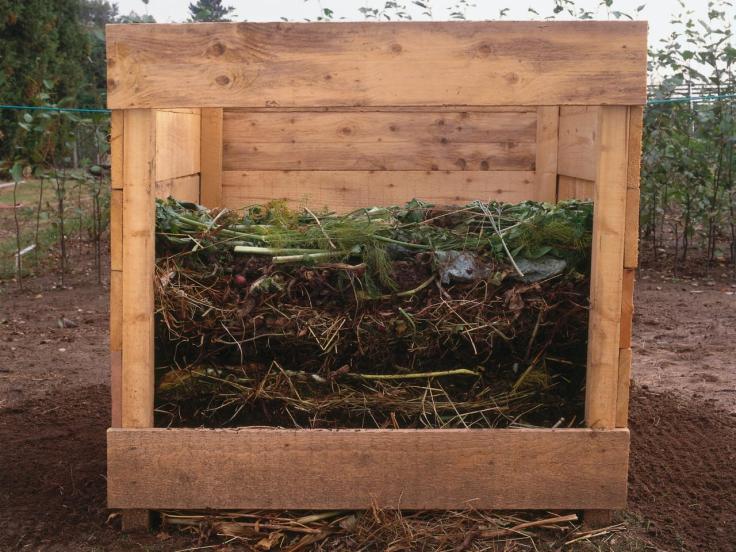
(Compost that is ready to use)

After taking steps to make the soil a little more neutral, compost can be added and mixed in with the top 4 to 8 inches of natural soil to make the soil nutrient rich and to help improve its texture. The best times to apply compost are in late fall and early spring.

Compost can also be added at the bases of plants to improve growth.

Zucchini with HoseUpclose broc:colliSwiss Chard with hose ontop
PV Produce originally made their compost in the trashcans outside of the garden. We also continued to use these trash cans. However, these trash cans are not big enough to make enough compost for the garden (people often brought shredded leaves from home in the fall and other various compostable items which we just poured straight in the garden because the trashcans were too small).

Full Garden

It may be a good idea to replace the trashcans with something bigger that will be enclosed so that the compost won’t attract animals and will be able to heat up to “cook” but will also have small holes to allow air to flow through it.


The information from this blog post was gathered from Daron “Farmer D” Joffe’s super helpful book, Citizen Farmer.

Soil

Having healthy soil is crucial for successfully growing plants. Using sustainable and smart practices to make the soil nutrient rich and to give it a desired texture are crucial in ensuring the soil will stay healthy (not be overtilled, have an overly acidic or alkaline composition, etc.) for a long time. Soil will be the foundation for the gardens success. There is a Chinese proverb that says “a bad farmer grows weeds, a good farmer grows crops, and a great farmer grows soil”.

There are four components of healthy soil: Structure, Texture, pH, and fertility.
1) Structure

Soil structure refers to the manner in which soil clumps together. The structure of soil can be determined by squeezing damp soil between your fingers. If it sticks together in a clump but crumbles when touched, it may be a loamy silt. If it falls apart very easily and doesn’t stay together well, it may be sandy. If it sticks together and doesn’t crumble when touched, it may be clay.

A healthy structure would ideally be crumbly because it allows for roots to easily grow through the soil, for water to be easily retained and drained, and for the soil to be aerated.

Adding organic matter to the soil helps to add nutrients and improve the structure. Soil structure can also be loosened (the soil at school can be pretty clay-like) with tilling, but this should be used cautiously as regular tilling can make the soil too loose and can kill microbes and insects living in the soil which help provide nutrients.

2) Texture

Texture refers to the size of the particles of the soil. Depending on the size and shape of soil particles, the soil can  be sand, silt, clay, or sandy loam. Knowing soil texture can help you make more informed decisions when choosing which plants to grow in the garden.

3) pH

The PH levels of soil are crucial for the success of plants in the garden. Some plants prefer more acidic soil while others prefer more alkaline soil.

We never had a soil test done, but we recommend testing the soil as it will give you a sense of the PH levels of the garden which will then guide you in choosing which plants to plant and next steps towards making the soil more neutral. Knowing the PH levels of the garden will help you in making more informed decisions rather than simply taking a stab in the dark when it comes to choosing plants, composting, etc.

Many garden and home centers (like Lowe’s) carry soil testing kits that can be quite accurate for around $10.00. There are also various do-it-yourself soil testing methods described online.

SOIL-PHph-chart

4) Fertility

Soil Fertility refers to the nutrients in the soil. Healthy soil is nutrient rich so that it can feed plants.  Nutrients can be added to the soil with various organic fertilizers.


More on soil: https://www.thespruce.com/the-dirt-on-soil-1403122?utm_term=how+to+test+soil+for+ph&utm_content=p1-main-1-title&utm_medium=sem&utm_source=gemini_s&utm_campaign=adid-c24da089-5e9f-4f53-9345-19bfac7e0934-0-ab_tse_ocode-33116&ad=semD&an=gemini_s&am=exact&q=how+to+test+soil+for+ph&o=33116&qsrc=999&l=sem&askid=c24da089-5e9f-4f53-9345-19bfac7e0934-0-ab_tse

https://www.thespruce.com/easy-diy-soil-tests-2539856

Website Powered by WordPress.com.

Up ↑